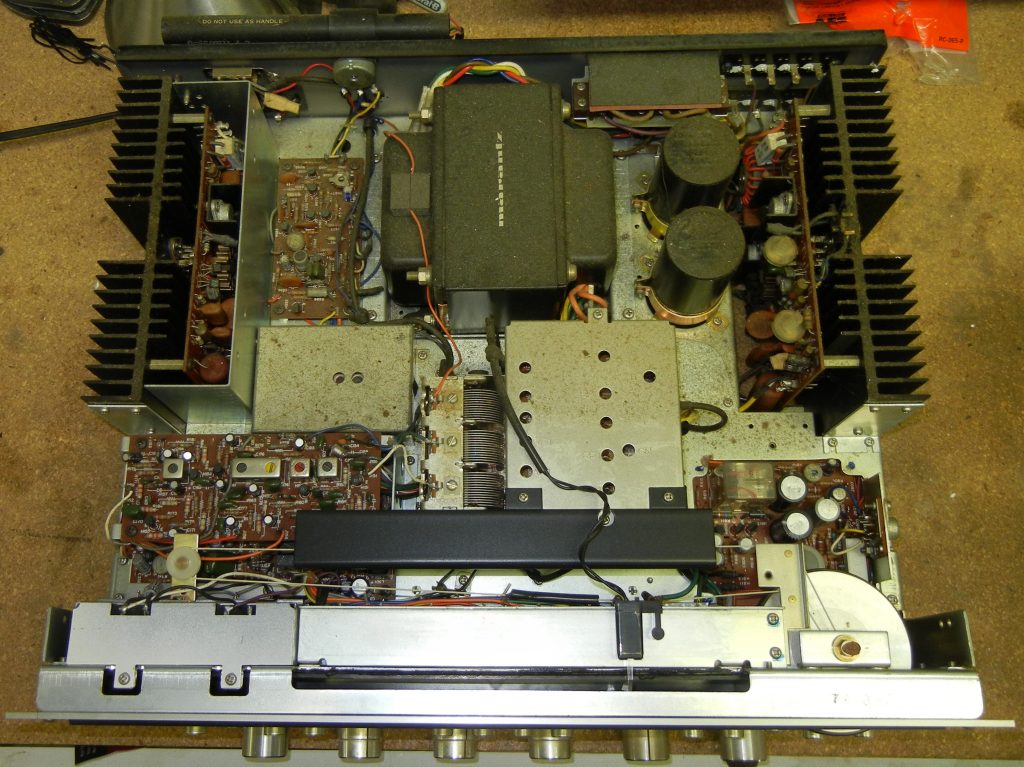
Almost ready for a chassis wash. The front panel and knobs need to come off.
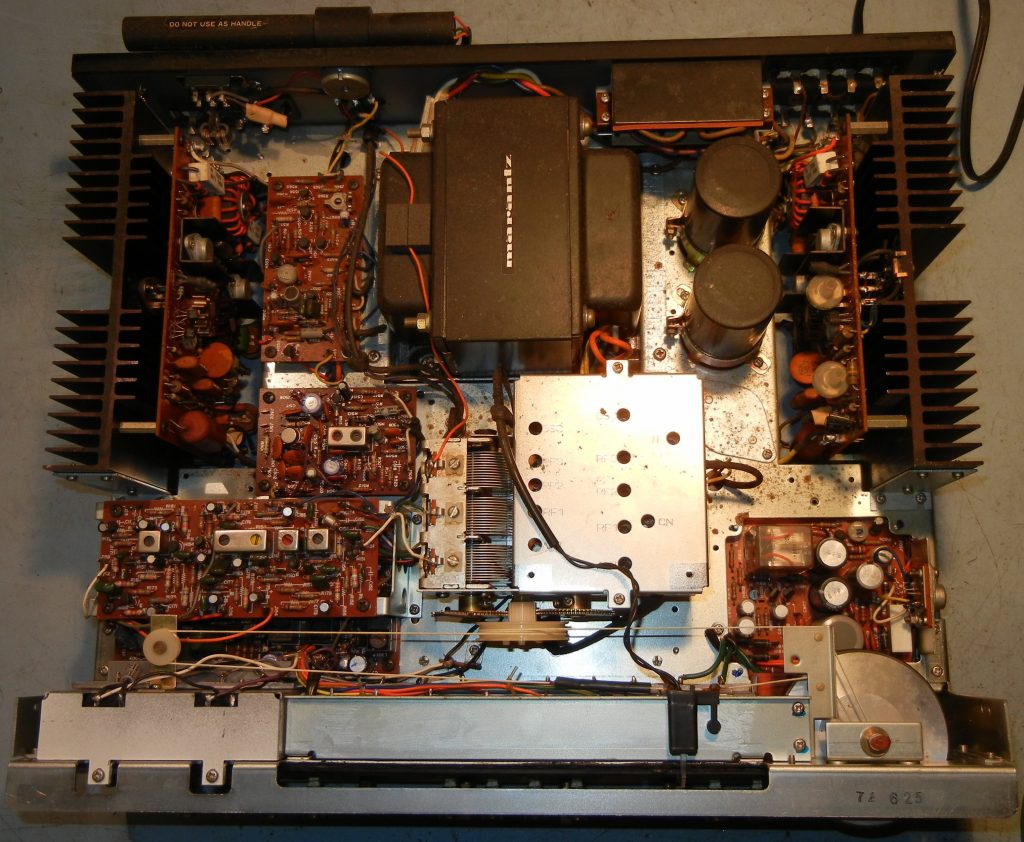
After the chassis wash.
The old electrolytic caps to be replaced are marked with a red felt pen to be sure none are missed.
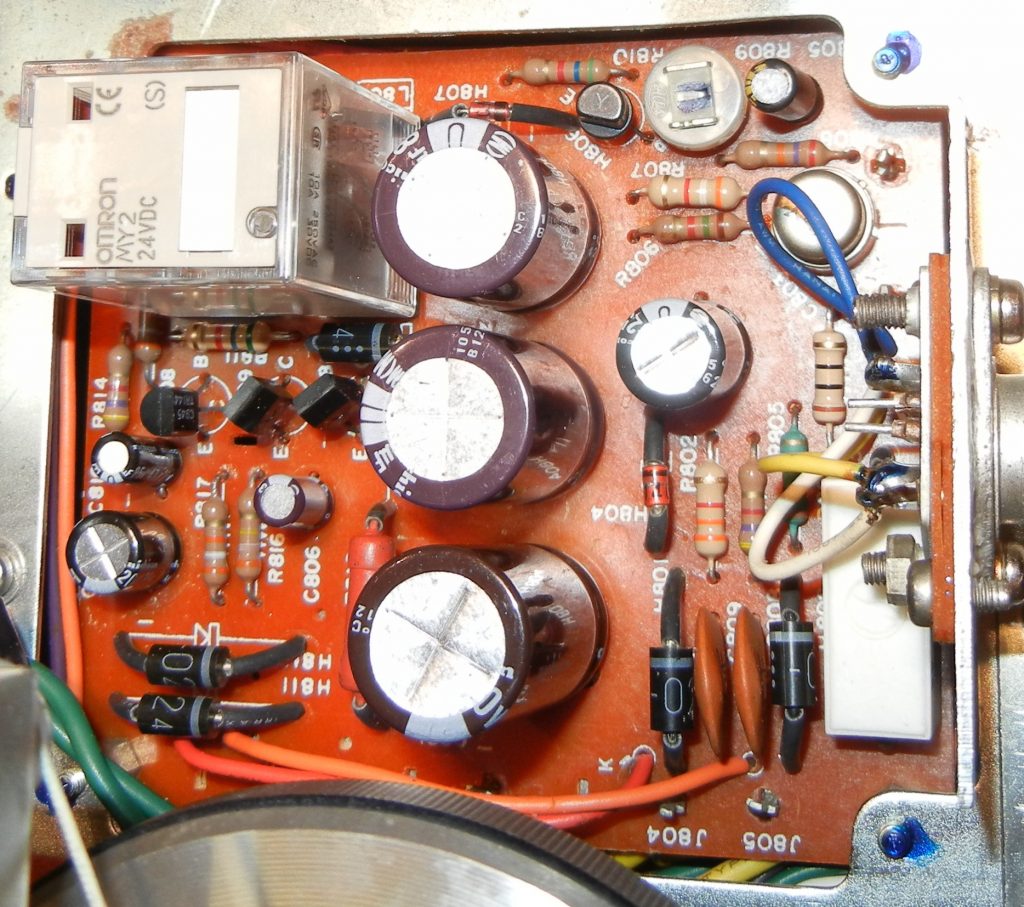
Rebuilt power supply board. Old glue used at the factory has been removed. Some resistors were upgraded too.
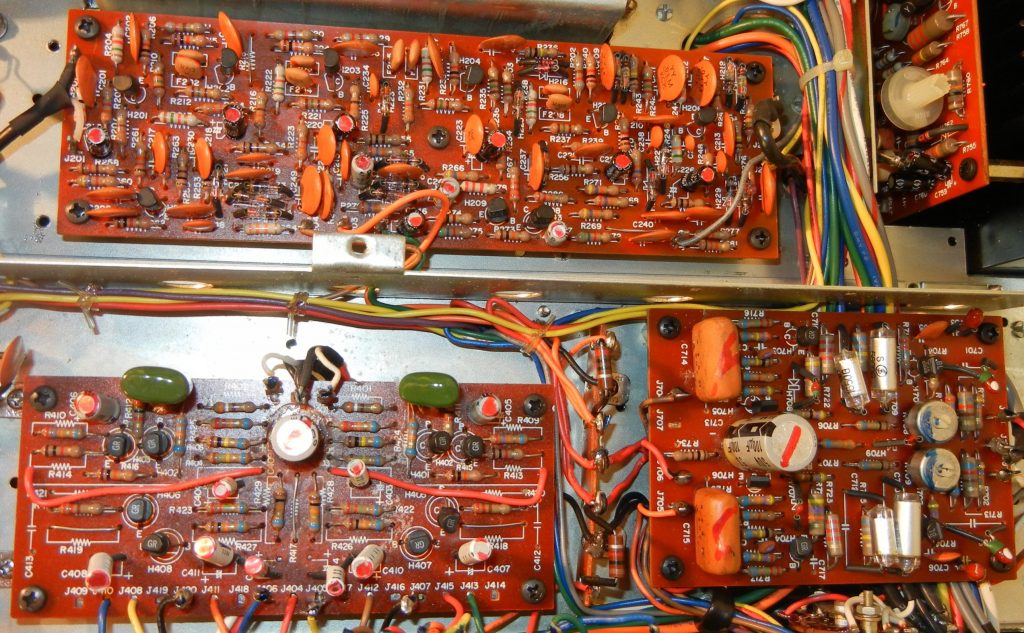
The tone control board, basically the preamp, is rebuilt with Wima brand polypropylene and standard film caps.
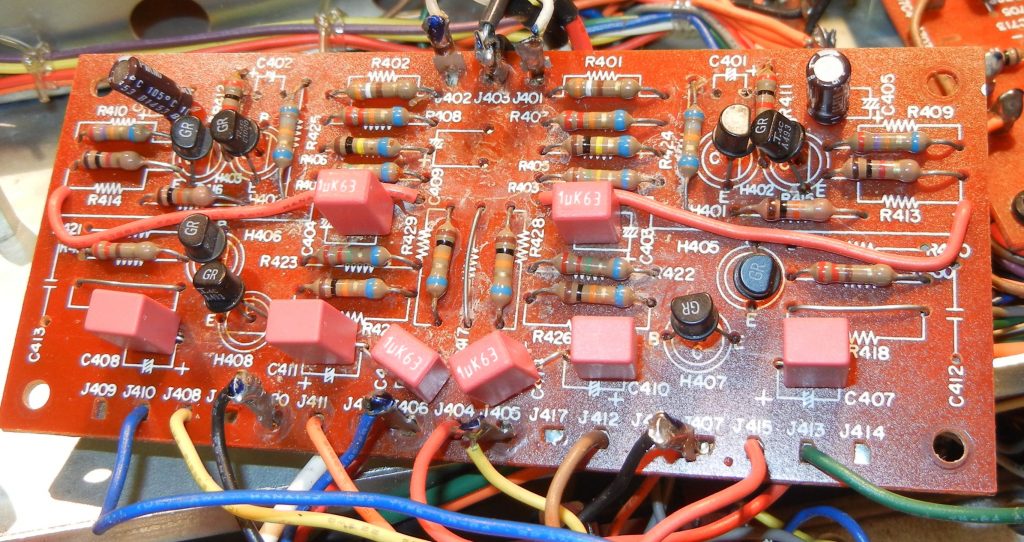
On the amplifier pc boards, the input transistor pair is renewed with gain matched modern, quiet parts.

Function callout and “Stereo” lamps are replaced with LEDs and rewired to a DC voltage power source.
The dial pointer lamp bulb gets a warm white LED. You could choose other colors if desired.

Optional custom had built warm white LED fuse lamps. Each have AC to DC conversion for flicker free light. Brightness can be made darker or brighter upon request. The newer silver face Marantz “B” models are very dark so can use more light.
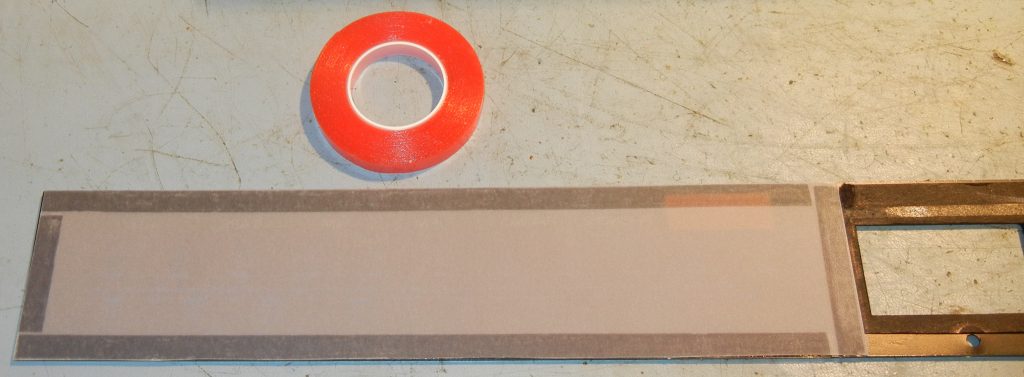
The back of the plastic dial gets new diffuser paper. I use Canson Opalux art grade paper.
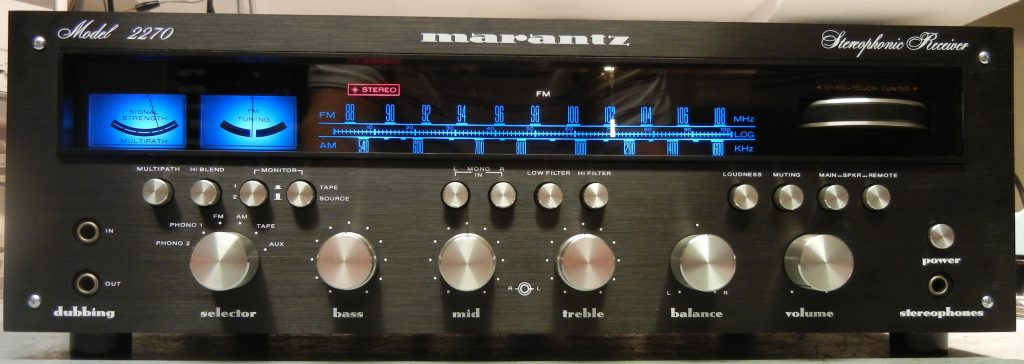
All done! This one has an aftermarket black face plate and looks great.
At the age of these units, the electrolytic capacitors are quite dried out and 15-20 years beyond what is expected for service life. So I rarely if ever just do servicing like pot cleaning and adjustment alone. With what it takes to pack and the shipping cost it’s just not economical. Folks usually opt to just do the full refurbishment and I’ll describe that now.
The refurb starts with a covers off inspection and initial test of all functions. Then the unit is partially disassembled for a chassis wash. That involves knob and face plate and most internal shields. The chassis is then washed out with Windex and scrubbed and dried out with compressed air. It has to dry a number of days then the work can begin. A 100% recapping is done, including every electrolytic cap and as well, all tantalum caps. The latter were great in their day for a quality of a low ESR, meaning Equivalent Series Resistance, an unwanted side effect. These days, the quality of electrolytics in the series I use are all better than the old caps were. Also done is replacing of the old yellowed vellum paper using a more modern art paper and redoing all lighting. All lamps other than the dial and meter lighting is done with warm white or red LEDs as is appropriate. The dial can be done with incandescent for the exact original color but what most people opt for, especially in plastic lamp housing units that have melt damage issues such as the early 22xx models, is my custom warm white LED fuse lamps. If one were to not like the look, they can be popped out and incandescents put in. The lamps each have AC to DC voltage conversion for flicker free light. They add under $20 to the parts cost.
Other work includes replacing the film caps in the tone control / preamp section with at least better quality film caps and wherever possible polypropylene types as they have very minimal side effects. It won’t change the Marantz signature sound but will slightly clarify it. Mostly what you notice in the tired sound is electrolytic caps drying out which causes the value to go up and the series resistance to rise. In effect the circuit design has changed and isn’t working properly. Usually when folks get their units back they say it sounds cleaner, tighter and the like. It is back to a bit better than it originally was!
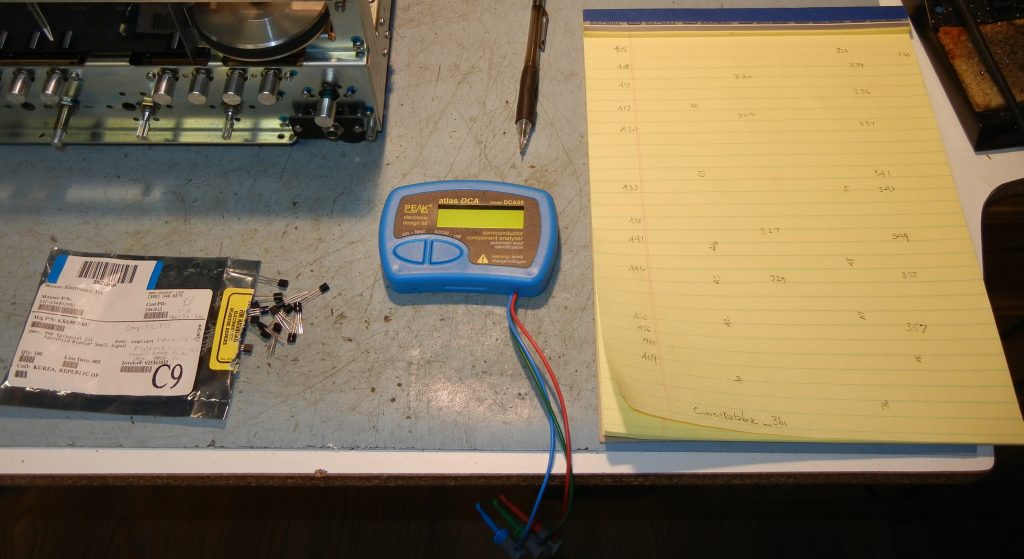
Also any known crummy transistors and diodes are replaced with better modern types. I also replace the power amp front end transistors when they are in what is called the differential amp configuration. If these go noisy with age it can have a dramatic popping at the output and can blow output transistors and speakers for that matter. A safety check of the power cord and AC wiring is done as well. Any minor repairs are done within the labor charge but may add to the parts cost. While the amp modules are apart for recapping the old thermal grease is wiped off and upon reassembly fresh thermal grease is applied.
As boards are loosed and parts taken out, the areas get additional cleaning. Along the way the pots, switches, jack center contacts and tuner bearing points are DeOxit cleaned for quiet operation and that chemical also adds a protectant that helps keep it all quieter longer. All parts that were removed are hand cleaned and shiny metal parts like some covers and shields are polished. Control shafts get a spot of oil to liven the grease inside. The dial pointer track gets a fresh greasing with synthetic grease.
All adjustments to the power supply, amp sections, phono preamp and a full AM and FM tuner alignment is done along with FM stereo adjustments. After that the final reassembly is done and all tone controls and filters are measured on an audio analyzer for proper function. The noise and distortion of the preamp section, where the output is available separately, is also measured. The amp sections are tested for distortion at different power levels and for power output at clipping. You will receive a copy of these readings and of the work item checkoff sheet.
If you have any questions, please ask! You can use the CONTACT menu item or e-mail me at the address on the bottom of the Home page.